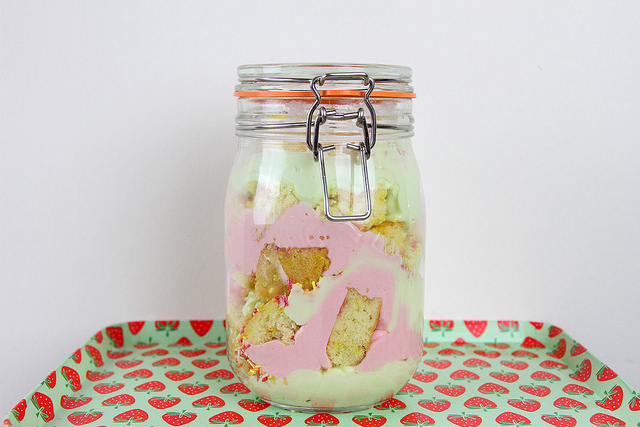
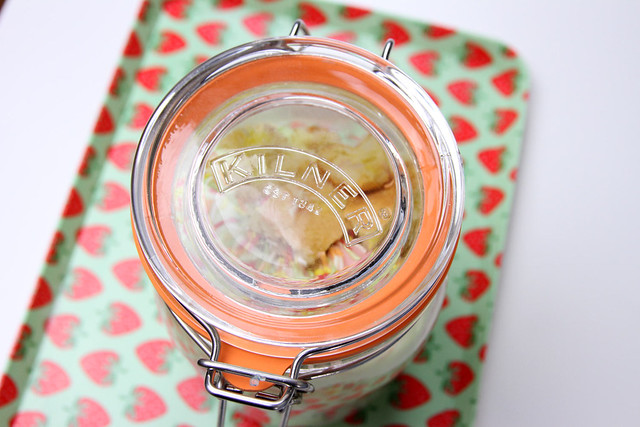
At the start of the week I decided I wanted to make a cake. I was keen to try something new and spent ages trying to figure out if I could stick a Kilner jar in the oven. In the end I decided against it, I didn’t want to end up with an oven filled with glass. I decided to play it safe and put together a traditional cake in a jar. You know, the kind people make when they want to use up left over cake.
I was inspired to get creative with a jar by the folk over at Thinkmoney. They challenged 15 bloggers to create something pretty with food and a jam jar. I have lots of jam jars, coffee jars, candle pots and Kilner jars knocking about the house. I love to up-cycle things and you can often find me using them to store my make-up brushes or other food items (granola, icing sugar etc). I’d never actually used a jar for serving up food so this was a very fun evening.
Let’s get straight into it.
I found this recipe in my own book, it’s one I wrote down years ago so I’m not quite sure where it came from. This makes a small, square cake. So if you’re planning to use this to make a large cake instead of a jar cake then I suggested you double the ingredients.
Ingredients:
110g gluten free flour (you can use any you wish)
110g sugar
110g butter (you can use a dairy free alternative)
2 eggs
Splash of vanilla extract
Sprinkles
Pinch of salt
Splash of milk
For the icing:
100g butter
350/400g icing sugar
Vanilla/Rose/Peppermint extract – I went with peppermint
Splash of milk
Method:
– Heat the oven to 150/170
– Grease your baking tin
– Beat together the butter, sugar and then the eggs
– Slowly add the flour and pinch of salt
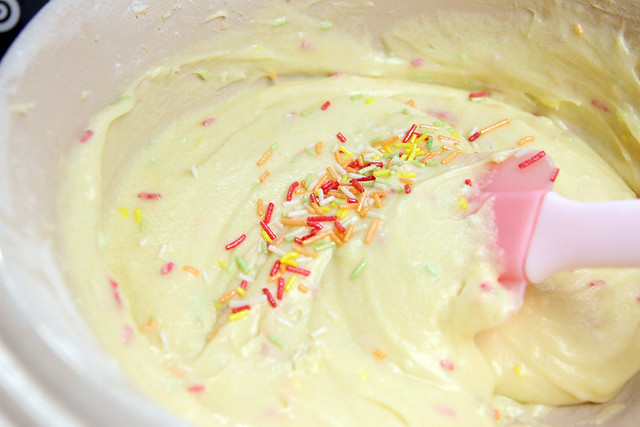
– Fold the sprinkles into your mixture
– Pop the mixture into a tin (I used a square tray bake) and slide it into the oven for around 20/25 minutes
– Once it’s ready take it out and leave it to cool before removing it from the tin
– Chop the cake up into little squares
Now it’s time for the icing!
– Scoop your butter into a large bowl
– Beat with an electric or hand whisk
– Start adding the icing sugar a little at a time
– If the mixture becomes too stiff then add a splash of milk
– Separate into two bowls and add your desired colours – you could save on washing and just use one
Let’s get it all into the jar – I used this style!
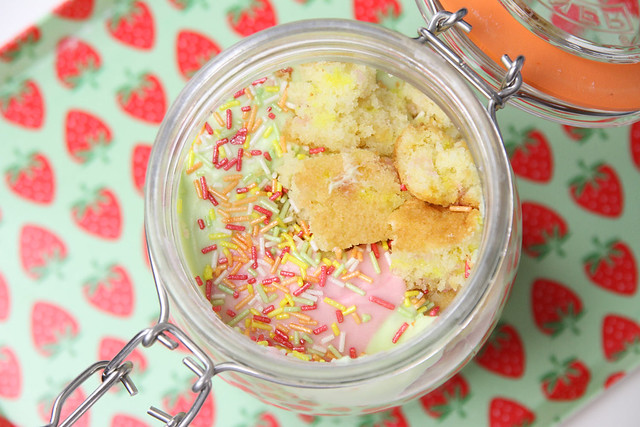
– Scoop a blob into the bottom of your jar
– Cover with sprinkles
– Add some cake
– Alternate the icing and add cover with sprinkles
– You get the idea
As always, you don’t have to follow this step by step, just go and have fun!
Check out the Jam J-art website from ThinkMoney for many more fantastic ideas.


